Silver ring-making workshop
I’m happy to declare myself an incurable collector of two things. Experiences - especially if they involve travel - and jewellery, especially rings. (Just to be clear, we’re not talking about Elizabeth Taylor levels of jewellery here. The value of my considerably smaller and very very considerably cheaper collection lies more in the memories each piece represents than any corresponding cost). So imagine my delight when I had the chance to have a go at actually making a ring myself.
Stand back, there’s a woman with a blow torch in the room
The wonderfully named Skinny Wrists in Bournemouth was the venue for the terrific two-hour silver-ring making session I attended along with two friends (they also have a shop and workshop in Waltham. Skinny Wrists, that is. Not my friends, obviously). We arrived at the shop-come-workshop intrigued to discover what we might be capable of producing, and left the ridiculously proud owners - and wearers - of a personally hand-crafted silver ring each.
After selecting the style of ring we wanted to make, we were each given an appropriate strip of silver to work with. I chose to make a double, interconnected ring, so I had two lengths of slim silver coil and the first job was to hammer them straight on a small anvil, then cut them to size (we had measured our ring sizes before we begun).
Getting hammered takes on a whole new meaning
The ends of the coil strips then needed to be filed flat so that when the strips were bent into a very rough ring shape (they looked more triangular than round at this stage) they would sit neatly together.
Not exactly ring-shaped at this stage
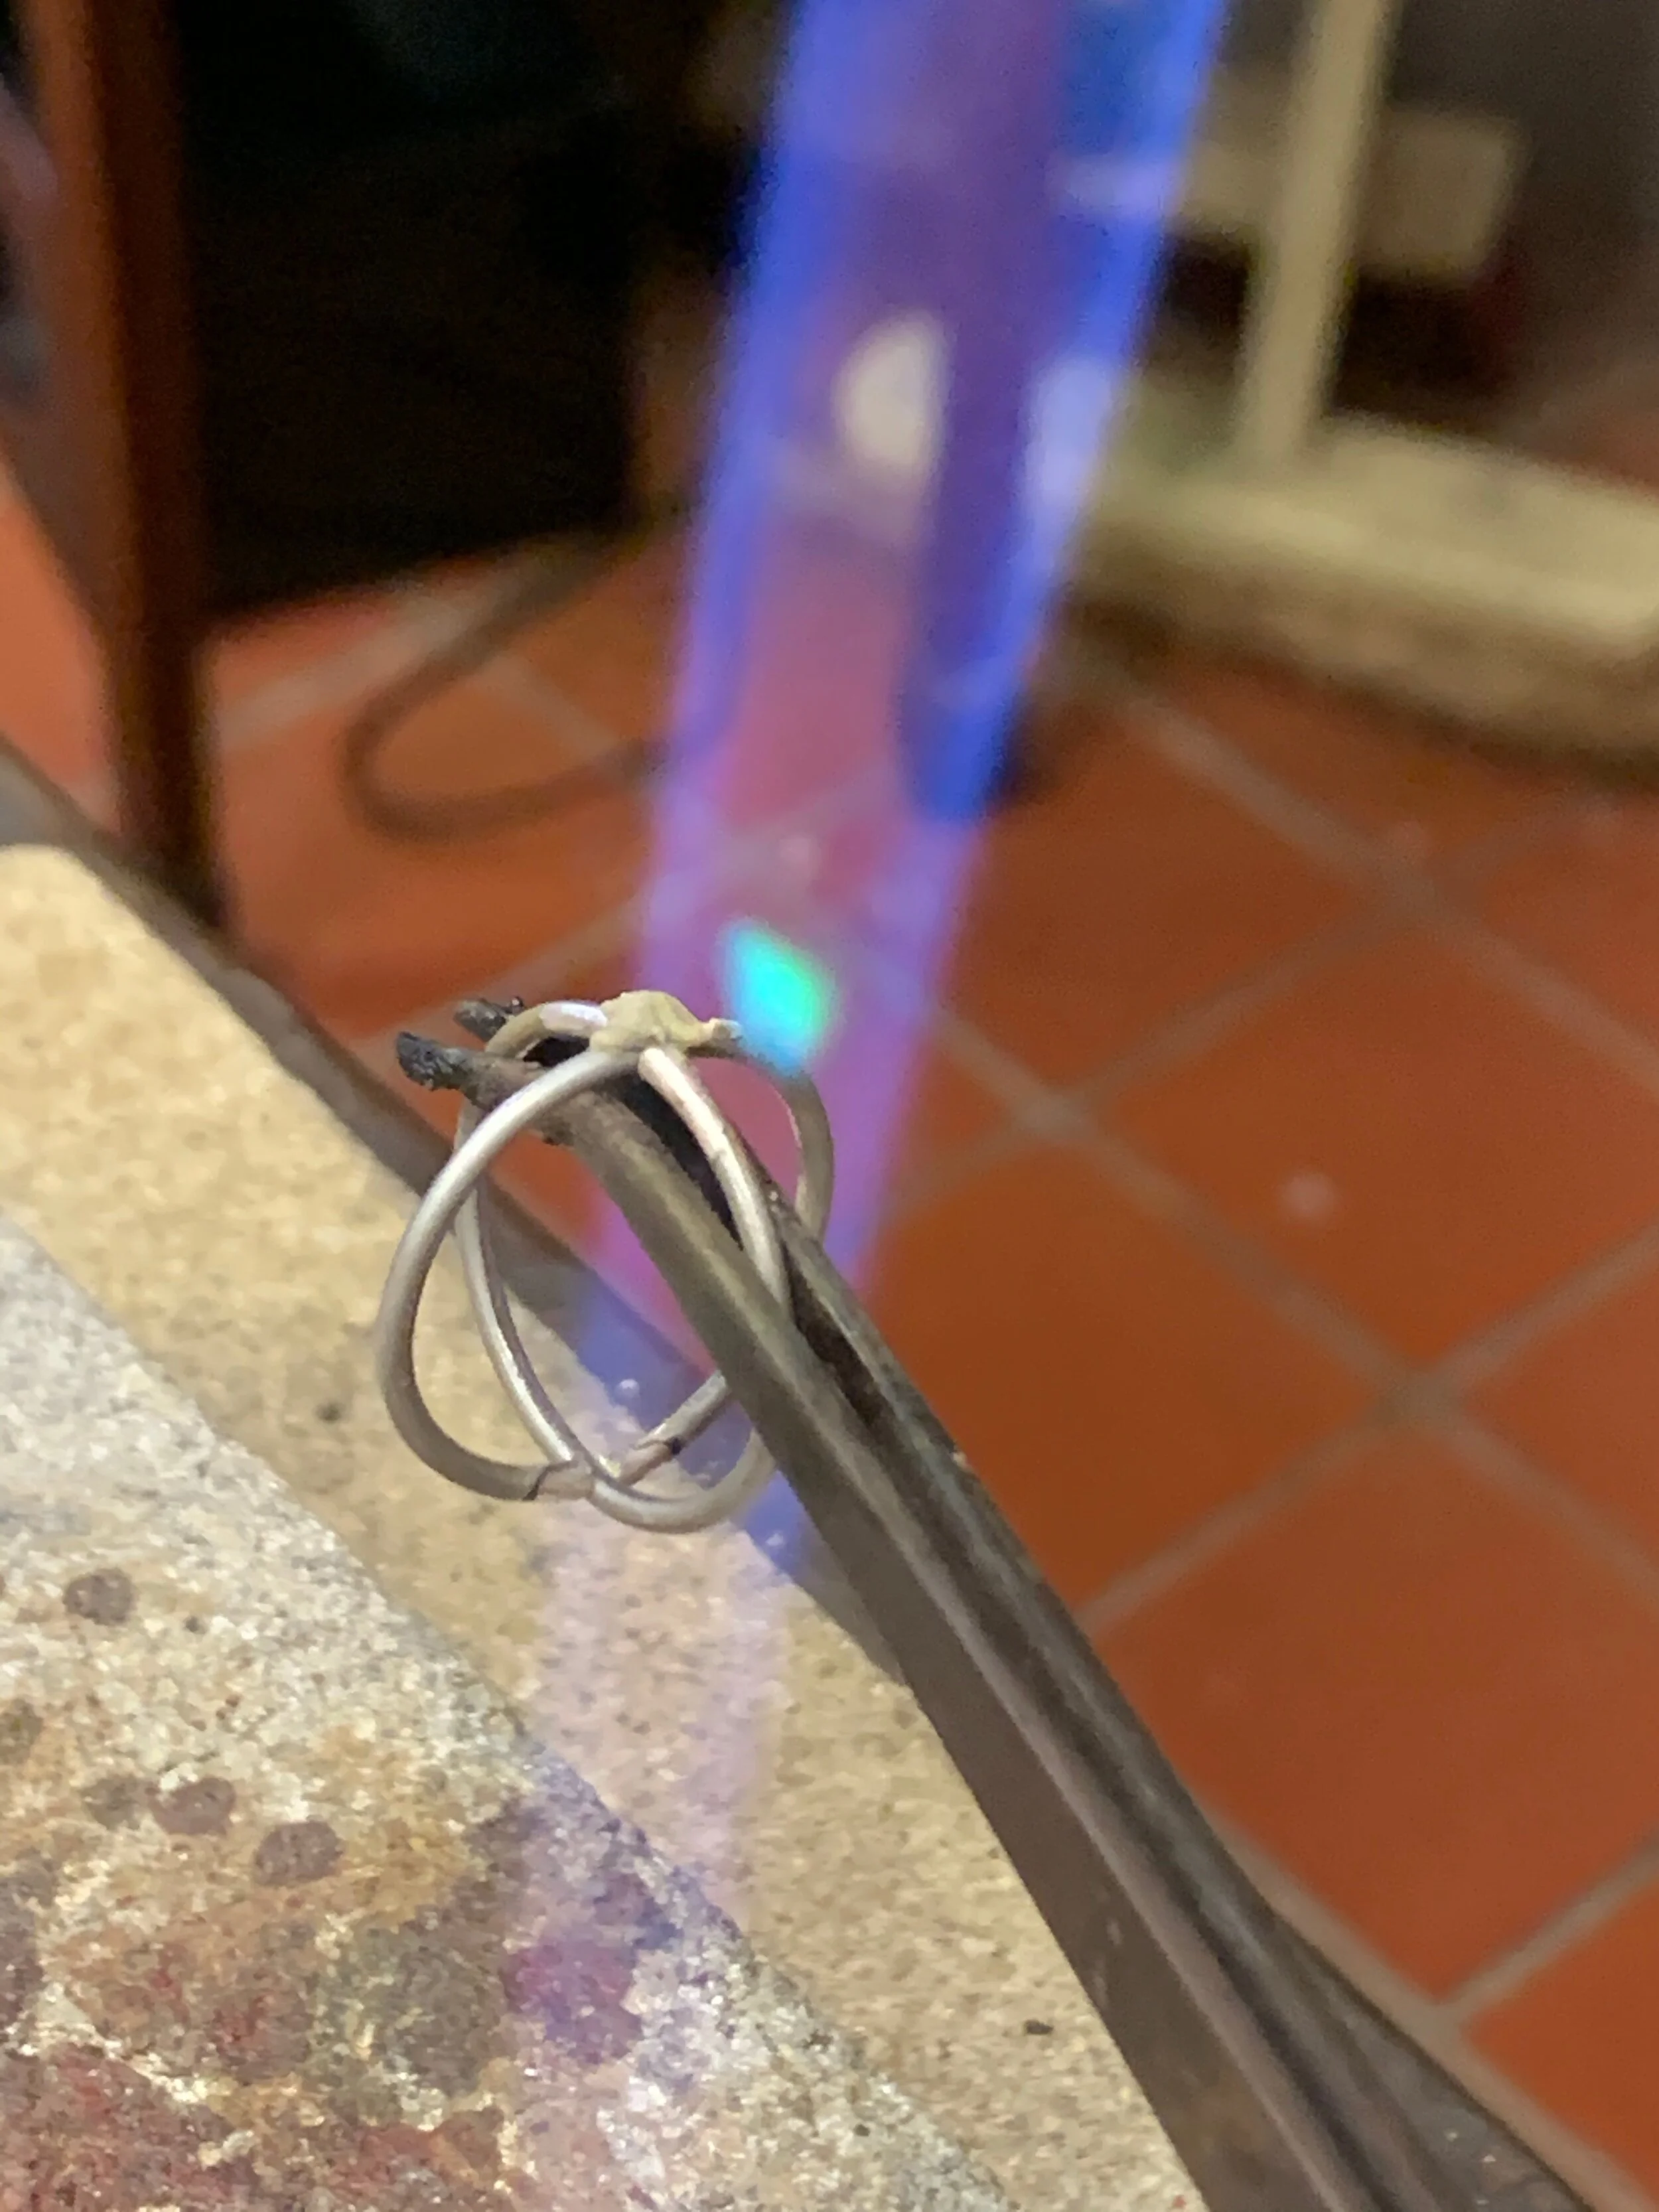
In order to join the ends of the strips together, we placed a tiny amount of solder on the join then heated it until it melted. One of my friends had chosen to make a wider ring and in her case the miniscule strip of solder was placed on the heating stone just in front of her ring, then the joint painted with something called flux, which focuses the heat on that particular spot. As the ring heated to the necessary temperature, the solder literally slid across the stone and into the join in the ring. It was like watching magic!
With our rings firmly soldered together, the next task was to make them round, which we did by hammering them down a tapered wooden rod until they were properly circular.
The rounding process was done on this tapered wooden rod
Then the we checked the size on this metal sizing rod. I had to get both my rings to size X
Before shaping and sizing (left, in case that wasn’t clear) and after (right)
When each of the rings was not only rounded, but the right size - more arm-tiring than it sounds - the following step for my ring seemed somewhat counter-intuitive to say the least. Because it involved cutting through the carefully soldered joint on each of the two rings.
What this enabled me to do was to slot the two rings together and once that was done, to re-solder the joints so I now had two rings at roughly right angles to each other.
Both the rings and my hands were pretty filthy by this stage of proceedings
Getting hot, hot, hot
Then it was back to the measuring rods to recheck the sizing and adjust the angle between the two bands.
A little filing of the intersections between the rings to make the join invisible and the by now thoroughly grubby ring was ready for its shiny transformation.
Filing the join ready for the final stages
I realise now I have no idea what was in the jar that the rings were put in to strip away all the fireburn and make them white (would love to hear from you if you know) but they were in the liquid for about four minutes and emerged looking like this (the other one of my friends made the same ring as me, hence why there are two in the pic)
All white, but not yet shiny
Then it was into a container full of a solution of water and Barrelbrite (I was paying attention to that bit) for a good tumble clean…
The cleaning and polishing was done by the lovely Megan who led the workshop
….followed by a quick polish. And voila, the finished result!
With rings on her fingers….
I can’t pretend to be anything other than inordinately chuffed, both with the ring itself and the fact that it was made with my own fair hands. I thoroughly recommend the Skinny Wrists workshops (they do a variety including bangle, necklace and earring making), not least for their incredibly competitive pricing.
Something like this is a fab thing to do with friends or family and would make an unusual and I’m sure much appreciated gift. You absolutely don’t need to be skilled to have a go.
I’ve done a bit of googling and there are jewellery making workshops all over the country, although the price point of the Skinny Wrists ones are hard to beat. Try this website as a starting point.
Have you done a creative workshop that you’d recommend? I’m itching to try something else now!
Other posts you’ll enjoy
A clever decorating idea for your smallest room
Become a Bake Off contestant….for a day
Gifts for Christmas that show you care


